 Administration > Data Collector Administration > SiteScope Administration > Installing SiteScope > Installing SiteScope on Solaris or Linux > Installing SiteScope > Installing SiteScope Using Console Mode
Installing SiteScope Using Console Mode
You can install SiteScope using a command line or console mode. You use this option if you are installing SiteScope on a remote server or for any other reason that prevents the use of the installation option via the user interface.
To install SiteScope on Solaris or Linux using the console mode:
- Download the SiteScope compressed archive file, or insert the CD-ROM with the SiteScope software into the CD drive, on the machine where you want to install SiteScope.
- Copy the SiteScope compressed archive file to a disk or network location where it is accessible to the user account that is to be used to install SiteScope.
- Decompress and extract the SiteScope files from the compressed archive by running the following command:
- After the SiteScope software files have been extracted, run the installation script supplied with SiteScope with the following command:
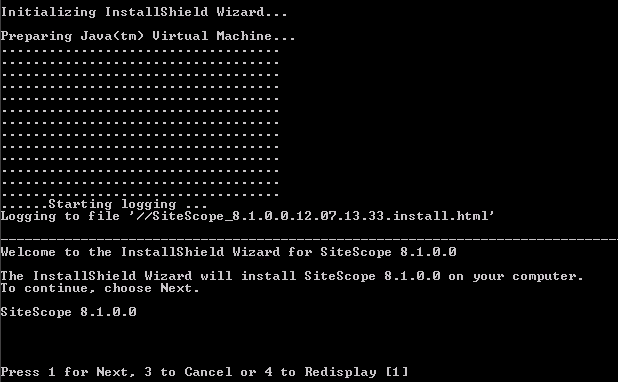
- Enter the number 1 to continue with the installation. The text of the license agreement is displayed. To cancel the installation before reading the license agreement, enter the number 3 and then confirm that you want to cancel the installation.
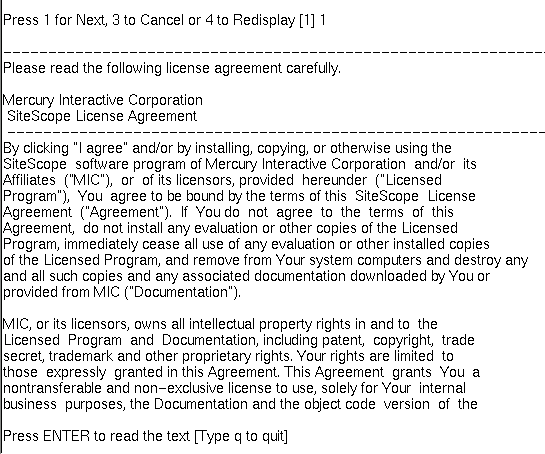
- Enter 1 to continue the installation process. The E-mail address entry prompt is displayed.

- Enter a SiteScope administrator e-mail address. For example, sitescopeadmin@thiscompany.com. If you do not want to enter an e-mail address at this time, press Enter to leave this blank and continue to the next step. You can enter e-mail information later using the E-mail Preferences page once SiteScope is running
- Enter 1 to continue to the next step. The Installation Location selection prompt is displayed.

- Enter the location where you want to install SiteScope. The default location is shown between square brackets and is relative to the location of the installation executable. To enter a different installation location, type the location path as a command line entry without square brackets. The installation location must end with a directory called SiteScope.
- Enter 1 to continue with the installation. The console displays the installation parameters for confirmation.
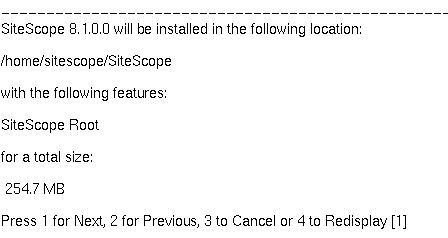
- Enter 1 to proceed with the installation using the installation location indicated. Enter 2 to return to the previous dialogue and make changes. The installation process starts. When the installation is completed, SiteScope starts and the Connect to SiteScope screen is displayed.
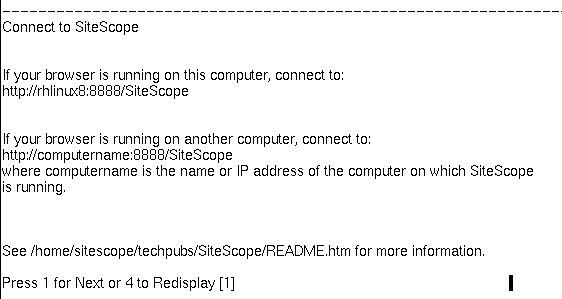
- Make a note of the SiteScope address and port number displayed on the screen. By default, SiteScope will try to answer on port 8888. If another application is using that port number, SiteScope will try another port number (for example port 8889). To connect to SiteScope, follow the steps in the section Connecting to SiteScope.
- Enter 1 to continue to the next step. An installation status message is displayed. Enter 1 to exit the installation script.

- For the latest available functionality, download the latest service pack from the same location from which you installed SiteScope. Install the service pack into the same directory as SiteScope.
gzip -dc SiteScope.system.tar.gz | tar xvf -
Replace system with the platform name included as part of the compressed archive filename (the choices are sun or linux). The console displays the decompression and archive extraction process as shown below.
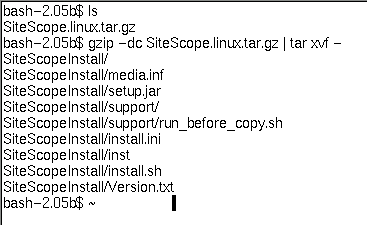
The operation creates a new directory named /SiteScopeInstall. This directory contains the installation executable and other files used to install SiteScope.
/bin/sh SiteScopeInstall/install.sh -console
The installation script initializes the Java Virtual Machine to begin the installation. A confirmation screen is displayed.
The SiteScope License Agreement requires several pages to display. Read each page as it is presented. Press Enter to continue to the next page. When you have viewed all the pages of the license agreement, you have the option to accept or not accept the license agreement.
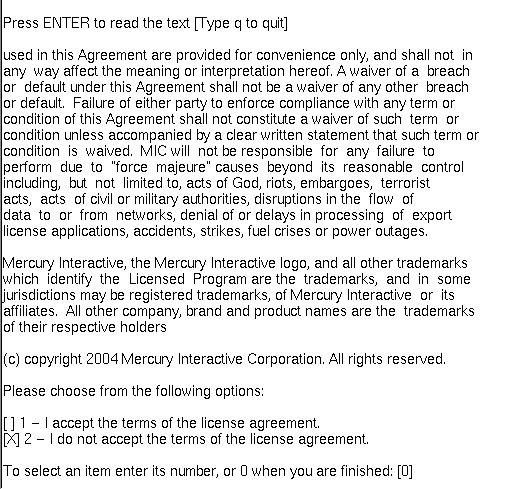
To install SiteScope, you must accept the terms of the license agreement. The default selection is to not accept the agreement. To accept the license agreement and continue the installation, enter the number 1 and then enter the number zero (0) to continue. A continuation prompt is displayed.
Note: To cancel the installation after viewing the SiteScope License Agreement, enter the number 1, enter the number zero, and then enter the number 3 at the next continuation prompt to cancel the installation.
At this point, SiteScope is installed and running.