 Administration > Application Administration > Repositories Administration > Context Menu Items Repository > Example Scenario - Creating a New Context Menu Item > Stage 1: Create the Context Menu Item
Stage 1: Create the Context Menu Item
The first stage involves creating the context menu item in the Dashboard Repositories. The new context menu item will access the runbook application HTTP page that contains the details for the selected transaction, and display the page content in a new browser window.
In order to create a context menu item, you can add a completely new menu item, or clone an existing one that is similar to what you need and edit its properties. In this scenario, a new menu item is created.
To create the new context menu item:
- Select Admin > Dashboard.
- Move your mouse pointer over the Repositories tab title and click the down arrow
 that appears.
- Select the Context Menu Items tab menu option to open the context menu items page.
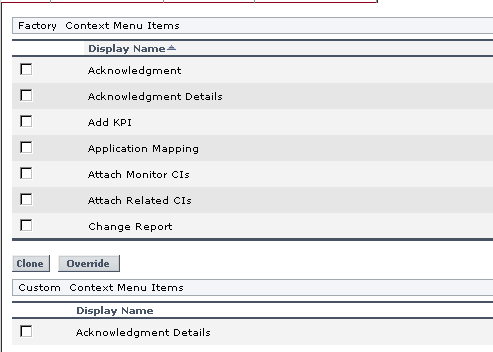
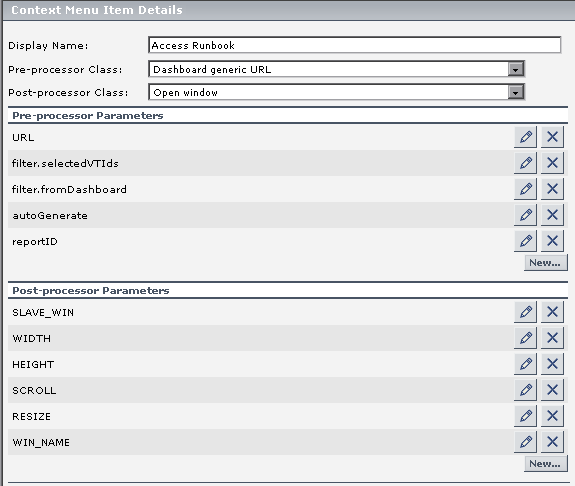
- In the Custom Context Menu Items area, click New Item (located bottom-right) to create a new menu item. The Context Menu Item Details window is displayed.
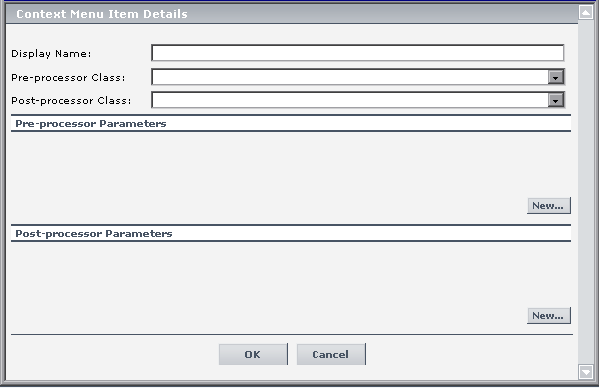
- Enter the details in the top three boxes as follows:
- Display Name - enter a name for the context menu item you are creating, for example, Access Runbook.
- Pre-processor Class - select Preprocessor: Dashboard Generic URL from the list.
- Post-processor Class - select Postprocessor: Open Window from the list.
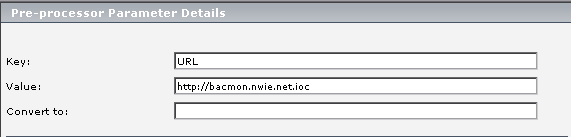
- In the Pre-processor Parameters area, click the Edit button for the URL parameter to open the Pre-processor Parameter Details window.
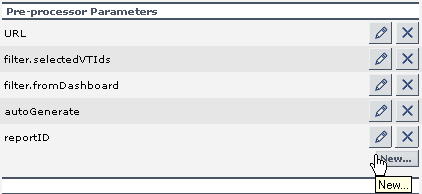
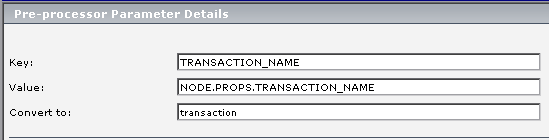
- Define the following two additional parameters in the Pre-processor Parameters area. These parameters define the dynamic component of the URL, so that the accessed page shows content for the selected transaction.
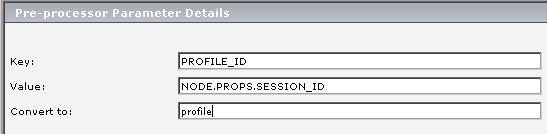
- In the displayed Pre-processor Parameter Details window, define the following information for the PROFILE_ID parameter:
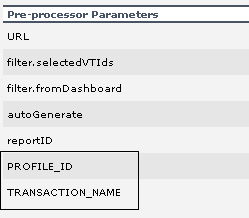
- Check that the added parameters are listed in the Pre-processor Parameters area of the Context Menu Item Details window.
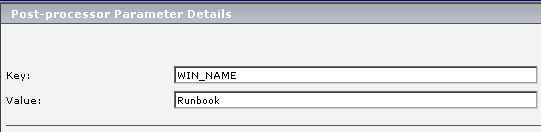
- In the Post-processor Parameters area, click the Edit button for WIN_NAME to open the Post-processor Parameter Details window. In the Value box, enter a name for the window opened by the menu item, for example, Runbooks.
- Click OK to close the Context Menu Item Details window. Then new context menu item is displayed in the Custom Context Menu Items area of the Repositories Context Menu Items page.

When you select the Pre-processor Class and Post-processor Class options, the default parameters for each selection are automatically added in the Pre-processor Parameters and Post-processor Parameters areas.
In the Value box, enter the static part of the URL for the application Web page that the menu item will access, for example: http://bacmon.nwie.net/ioc
Leave the Convert to box empty.
Click OK.
Click OK.